Switching Between Locations
The header shows the site you are working in — for example Dublin, Ireland.
Click that control to open SELECT LOCATION. Helper text: Switch between your locations.

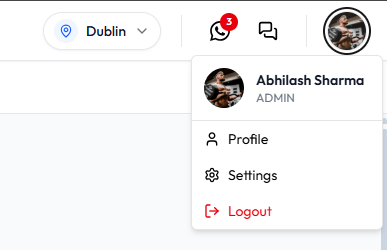
The same header also shows your photo menu (Profile, Settings, Logout):
What the List Shows
| Item | What it means |
|---|---|
| SELECT LOCATION | Title of the location menu |
| Location name | The site, such as Dublin or London |
| Place label | The area under the name, such as Dublin, Ireland or London, United Kingdom |
| Checkmark | The location you are currently using |
| + Add New Location | Starts adding a site |
Workflow — Switch Location
Step 1 — Click the Current Location Name in the Header
The control has a map pin, the location name (for example Dublin), and a chevron.
Step 2 — Click the Location You Want
The checkmark marks the location you are using. A staff member who works at two studios — for example Dublin and London — switches here before taking bookings.
Step 3 — Check the Header Name
The header shows the location you selected. This menu has no extra confirmation step.
Adding a site is not the same as switching. + Add New Location is documented on Add a Location.
Before you add or edit records, check which location is selected in the header.
Related Articles
Last updated on