Setup Checklist
When you first use Fitnez Studio, the product shows a guided setup checklist with progress. The checklist is grouped into stages. Finish those stages before you rely on the system for real members.
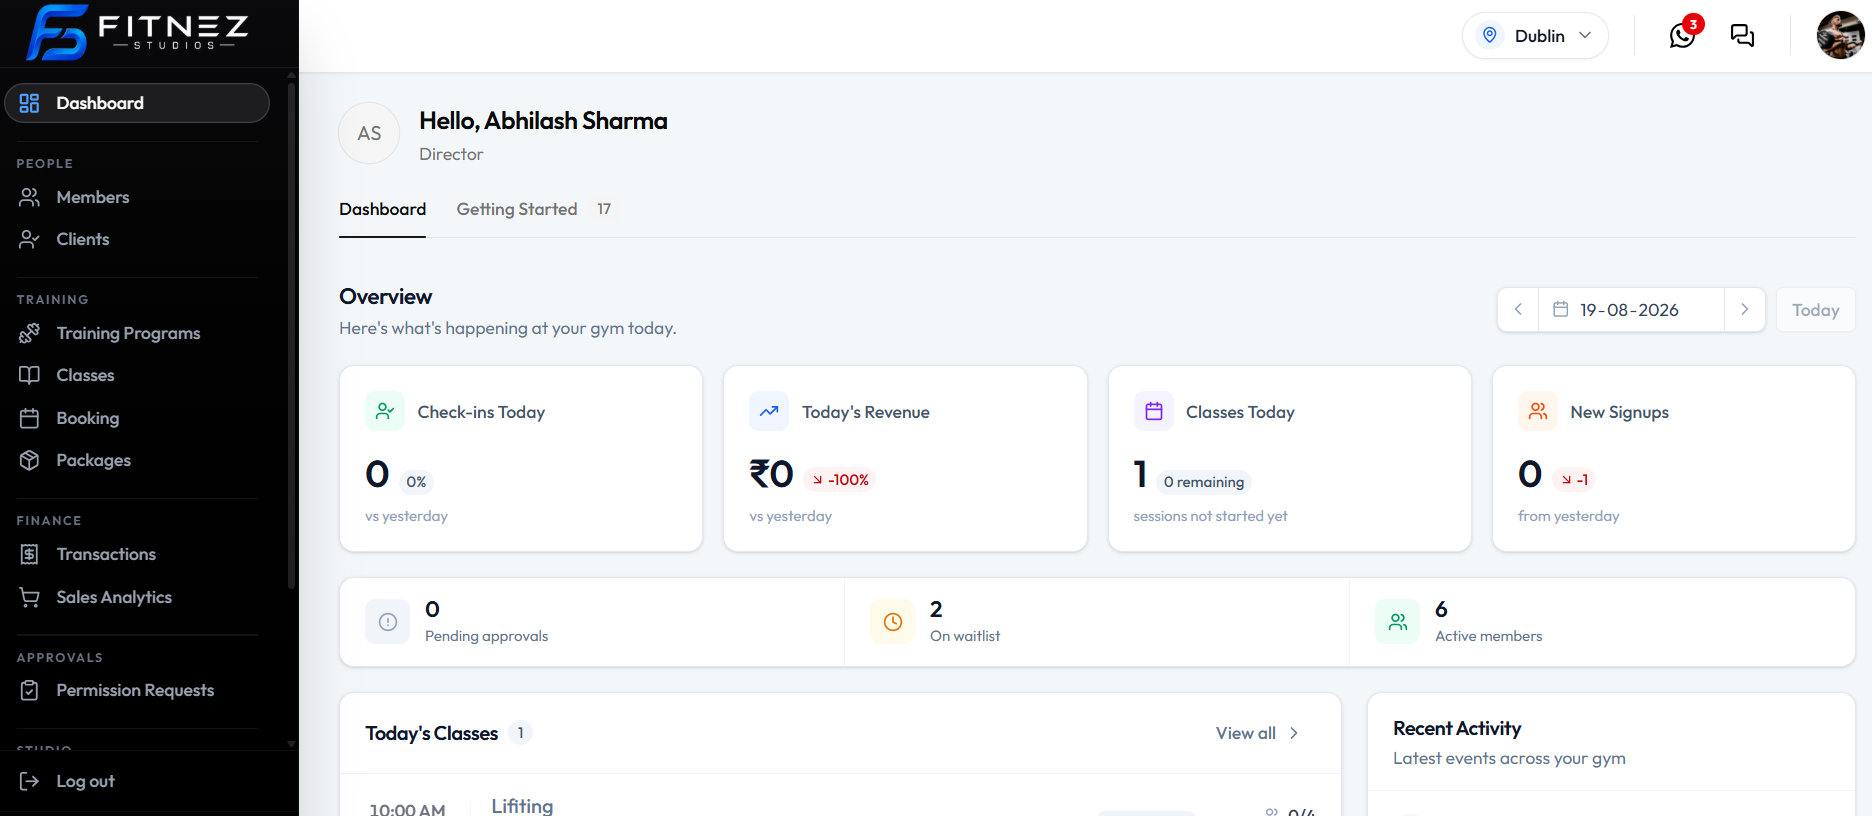
On the dashboard, open the Getting Started tab (next to Dashboard). A number on the tab is how many setup items are still open.
Why the Checklist Matters
Some features stay hidden or limited until setup is done. The checklist is the recommended order of first-run work, not an optional tour.
You can track how much of the checklist is complete as you go.
Some setup tasks can only be completed by an owner or admin. If you cannot see a step, your role may not allow it.
Completed versus skipped
A completed task is finished. A skipped task has been left for later. Skipping is not the same as completing — skipped work can still leave a feature limited or hidden.
The Five Stages
The checklist is grouped into these stages. Work through them in order.
Stage 1 — Brand your organisation
Set how the business looks and how it is identified.
This stage covers:
- Completing your gym profile and business details
- Uploading your logo and setting your branding
- Choosing a theme and customising your theme colours
- Setting up your email templates
Stage 2 — Set up your services
Set where you operate and what you run.
This stage covers:
- Configuring your locations and rooms
- Adding trainers and staff members
- Creating your first class schedule
When you add a physical site, use Add a Location.
Stage 3 — Create your packages
Set what members can buy.
This stage covers:
- Creating your first membership package. See Create a Package.
- Setting up pricing tiers and promotional discounts. See Pricing and Discounts.
- Setting up recurring (automatic) billing packages. See One-time vs Recurring.
Stage 4 — Get paid faster
Set how money comes in and how invoices look.
This stage covers:
- Connecting a payment gateway so members can pay online. See Connecting a Payment Gateway.
- Customising your invoices. See Invoice Numbering & Footer.
Stage 5 — Engage your members
Set how Fitnez Studio communicates after the offering is in place.
This stage covers:
- Configuring notification preferences and class reminders. Class reminders are not an Event Type on Email Templates in the current list.
What Should I Set Up First?
Use this order if you are opening the dashboard for the first time.
Step 1 — Brand the organisation
Complete the business profile, logo, colours, and email templates.
Step 2 — Set up services
Add locations, staff, and a class schedule.
Step 3 — Create packages
Add a membership package, prices, and any discounts or recurring billing.
Step 4 — Get paid
Connect a payment gateway and customise invoices.
Step 5 — Engage members
Turn on the notifications and class reminders you need.
That is also a sensible plan for your first week: finish branding and services before you sell packages, and connect payments before you take real bookings.
The dashboard shows the Getting Started tab and a count of open items. We do not yet have a screenshot of the checklist itself, so this page does not describe buttons, progress bars, or how skip works on that screen.