First-Time Website Setup
Open Studio → Website. Complete Theme, then Details, then Sections.
Suggested Order
Step 1 — Choose a theme
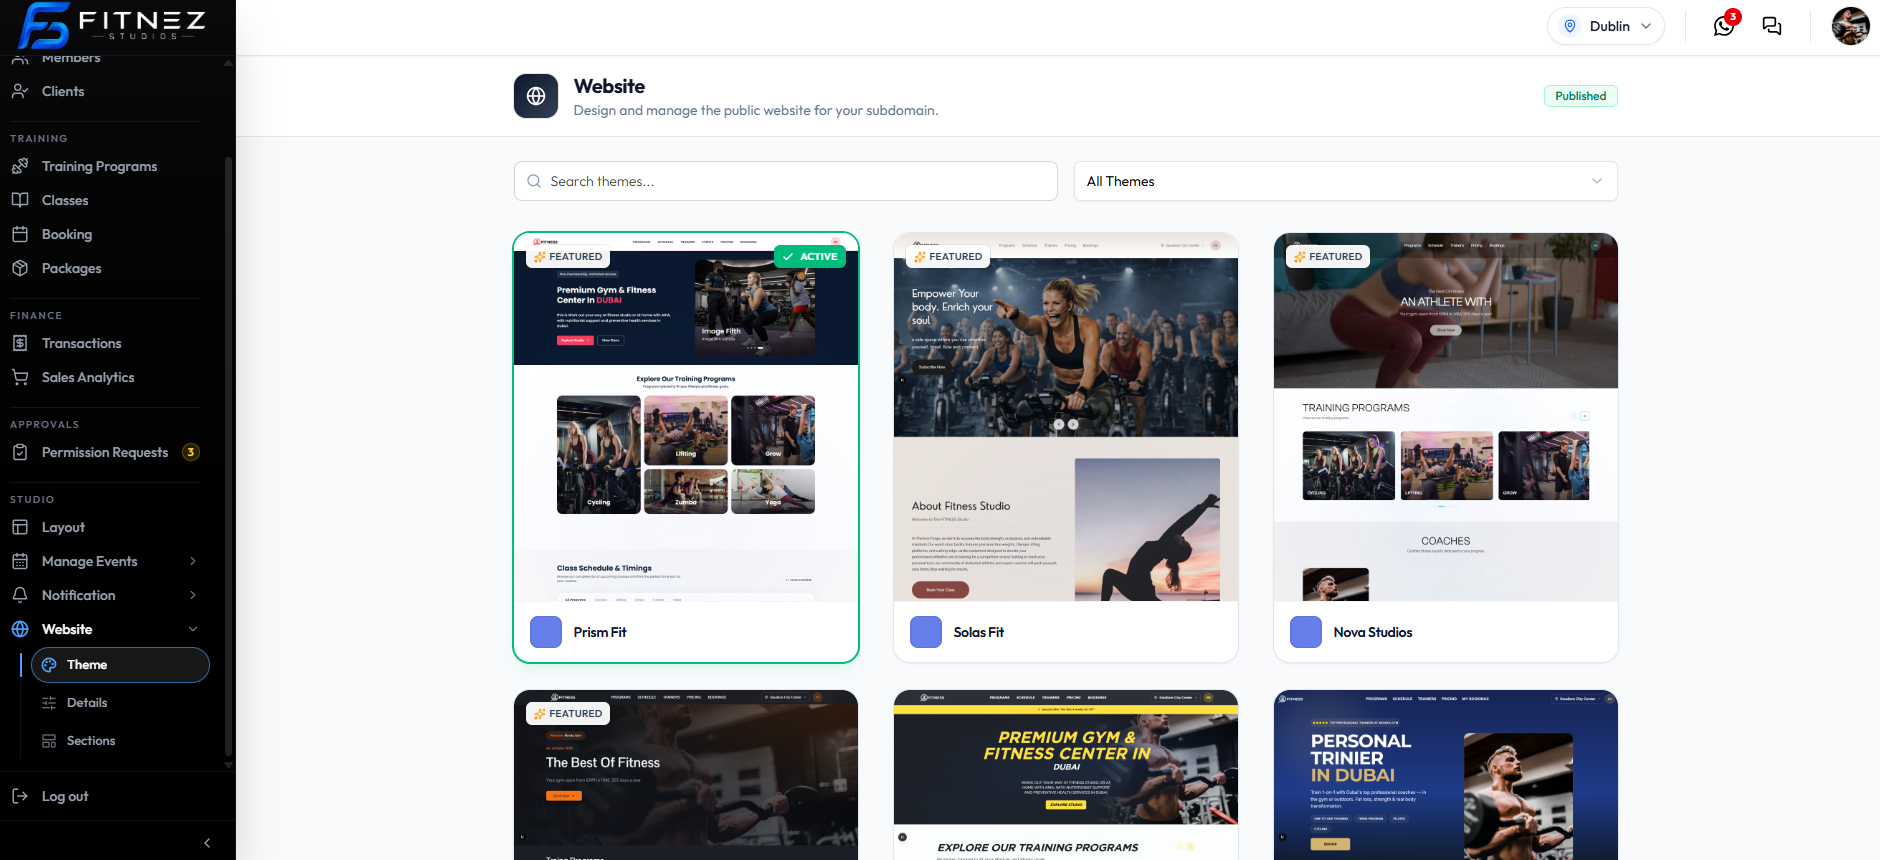
Open Theme. Search or filter themes, then set one as ACTIVE (for example Prism Fit). See Choosing a Theme.
Step 2 — Branding
Open Details → Branding. Upload Logo, Footer logo, and Favicon. Enter About. Pick a colour preset or set Primary color, Secondary color, and Background color. Click Save changes.
See Logo, Footer Logo & Favicon and Colours.
Step 3 — Contact information
Open Contact information. Enter Support email, Support phone, and social URLs. See Support Email & Phone and Social Media Links.
Step 4 — Legal & Billing
Open Legal & Billing. Edit Terms & conditions in the rich text editor. See Policies.
Step 5 — Tax & invoice
Open Tax & invoice. Enter Tax ID, Tax ID type, Invoice prefix, and Invoice footer note. Save when the form allows. See Tax Details and Invoice Prefix & Footer.
Step 6 — Sections and SEO
Open Sections. Show or hide each section, reorder, and edit content (for example Hero Section). Open the SEO tab for Meta title, Meta description, and Keywords. Click Save sections.
Confirm the header still shows Published when you are done. See Website Status.